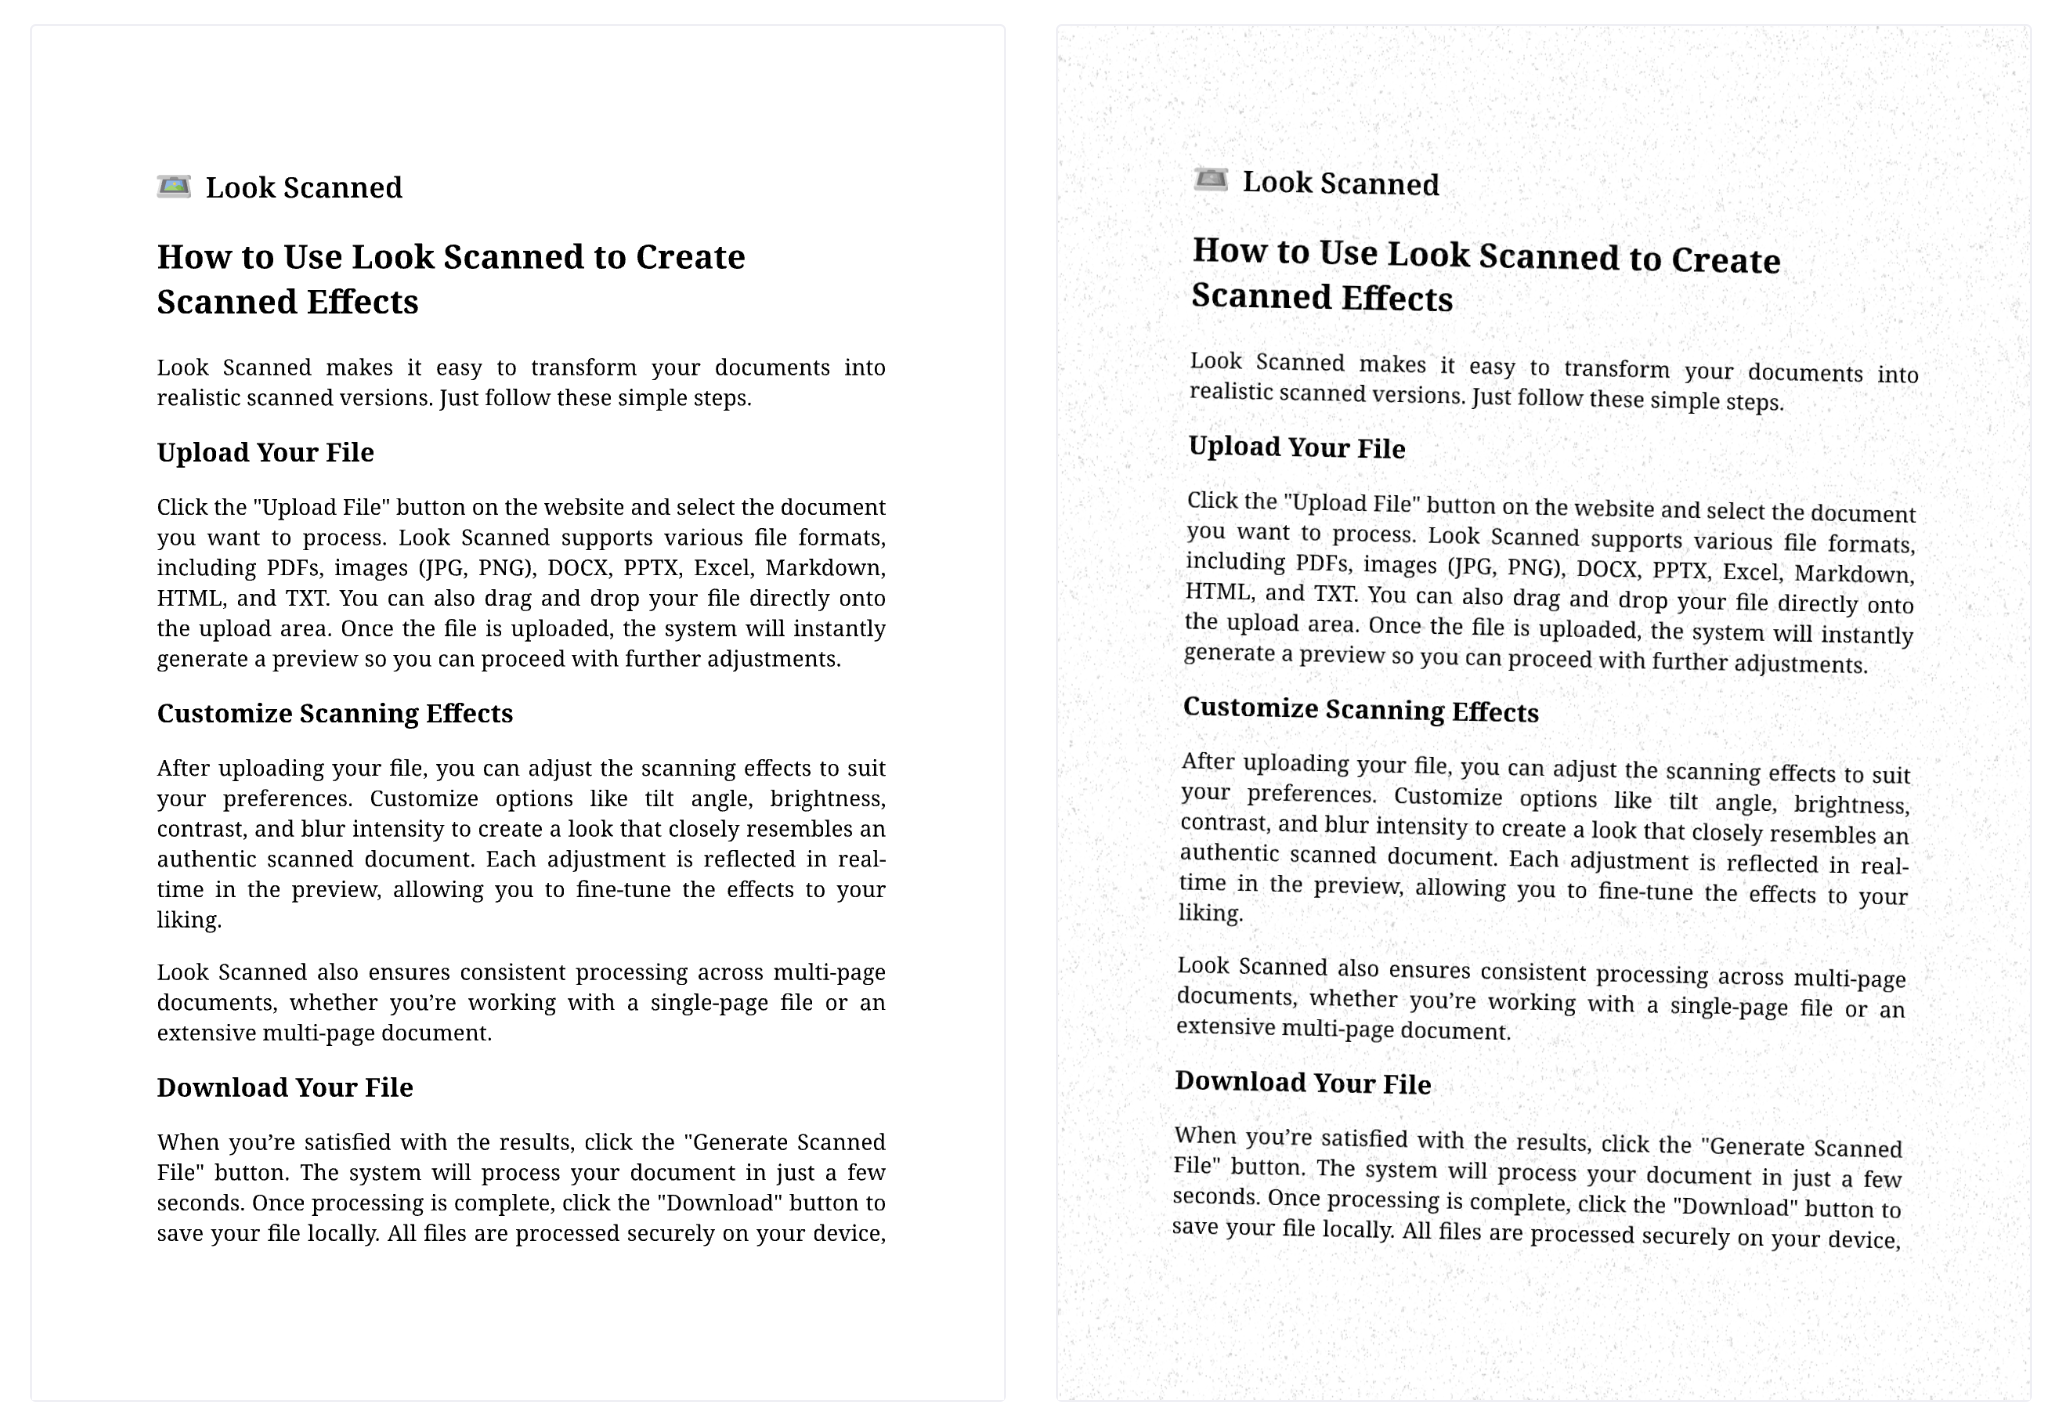
Sometimes, you need a digital document to look like it was scanned. Whether it’s for adding a professional touch, meeting specific requirements, or simply for aesthetic purposes, making a document look scanned can be surprisingly simple. In this blog post, we’ll walk you through the process step by step.
Why Make a Document Look Scanned?
Before diving into the how, let’s explore why you might need this effect:
- Add Authenticity: Scanned documents often appear more credible, especially for agreements or forms.
- Meet Submission Requirements: Some organizations require documents to look physically signed and scanned.
- Enhance Security: A scanned effect can make editing more challenging, adding a layer of protection.
- Improve Aesthetics: The texture of a scanned document adds a polished, tangible feel.
Tools You Can Use
Creating a scanned effect doesn’t require complex tools. Here are some options:
- Look Scanned: A user-friendly, browser-based tool that transforms PDFs, images, DOCX, PPTX, Excel files, Markdown, HTML, and TXT into scanned-style documents.
- Photo Editing Software: Applications like Photoshop or GIMP can apply scanned-like filters but may require more effort and expertise.
- Printing and Scanning: If you have access to a printer and scanner, you can print the document and scan it back to achieve a scanned look.
For this tutorial, we’ll focus on Look Scanned, as it’s quick, intuitive, and free.
Step-by-Step Guide Using Look Scanned
Follow these steps to achieve the scanned effect:
Visit Look Scanned
Open your browser and navigate to lookscanned.io. Look Scanned is a versatile web application that supports all major mobile and desktop browsers, allowing you to use it seamlessly on your phone, tablet, or computer. The app is also offline-capable - once you’ve visited the site for the first time, you can continue using it even without an internet connection.
Upload Your File
Simply drag and drop your file into the designated upload area, or click to select it manually from your device. Look Scanned offers broad file format support, including:
- PDF documents
- Images (JPG, PNG, etc.)
- Microsoft Office files (DOCX, PPTX, Excel)
- Web formats (HTML, Markdown)
- Plain text (TXT)
Customize Settings
Adjust the settings to create a realistic scanned look:
- Colorspace: Choose grayscale or color.
- Border: Add or modify borders for a scanned edge appearance.
- Rotate and Rotate Variance: Slightly skew the document to mimic scanner imperfections.
- Brightness and Contrast: Fine-tune these values for a balanced look.
- Blur: Apply subtle blur to emulate scanner limitations.
- Noise: Add a paper-like texture for authenticity.
- Yellowish Tint: Simulate aged or old paper.
- Resolution: Adjust resolution for a genuine scanned document feel.
- Watermark: Add watermarks to your document.
- PDF Metadata: Edit metadata to personalize your file further.
Preview Your Document
Use the real-time preview to ensure the output meets your expectations.

Download the Scanned File
Once satisfied, click the download button to save the transformed document.
Tips for Achieving a Realistic Look
- Moderate Adjustments: Avoid overusing blur or texture to maintain authenticity.
- Experiment with Angles: Small rotations can make the document appear more genuine.
Conclusion
Making a document look scanned has never been easier with tools like Look Scanned. Whether you’re preparing a submission, sharing a contract, or experimenting with design, achieving an authentic scanned appearance is just a few clicks away.